


by Dakota Storage Buildings, on January 19, 2016

Whether you're new to gardening or have been at it for a while, here are some helpful gardening tips for growing your own plants from seeds.
To get the biggest bang for your buck and have access to the widest variety of vegetation, starter plants are the best option. While they take more work initially, the benefits will thrill any enthusiastic gardener.
Here are 6 steps to successful spring starter plants.
1. Prep Your Shed
Agriculture experts at the University of Minnesota Extension advise choosing a safe place for your seeds. Somewhere away from heavy traffic, pets, cold drafts, excess heat, and where spills of potting mixture and water won’t cause a problem.
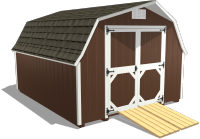
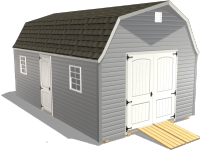
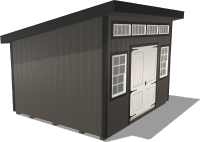
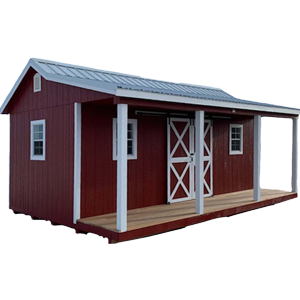
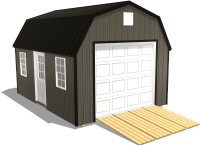
We suggest finding a space in your shed that can be dedicated to your horticulture endeavors. If you don’t have a shed, we recommend our Ranch Style Sheds. They are functional and affordable; perfect for anyone with (or without) a green thumb.
Here's one of our buildings we particularly find useful for starter seeds and plants.


2. Gather Your Materials
You will need your seeds of choice, seed-starting mix, seed tray with individual pods (one pod for each seed), and a watering tray.
You may want a clear plastic dome that fits over your seed tray, teaspoon or tablespoon, and/or a heat source such as electric heating mats or heat lamps.
3. Plant Your Seeds
Don't plant your seeds too early. Most annual flowers and vegetables should be sown indoors about 6 weeks before the last frost in your area.
When planting your seeds, read each packet carefully as you may have to soak, scratch, or chill seeds before planting. Also, don’t assume all plants need the same amount of water, soil, or light.
4. Plan Water, Light and Heat Sources
Most seeds require light to germinate, but windowsills may not be the best solution. They can get too warm during the day and too cold at night. For consistently warm soil to germinate and produce strong roots use artificial light or electric heating mats. Seeds sprout best at temperatures of 65° to 75°F.
Once the seeds sprout, water them from the bottom by pouring water into the tray. Never water the plant from the top as it can court unwanted disease and fungus.
5. Transplant Your Seedling
Once seedling outgrow their cell, transplant them into larger containers filled with potting mix. Lift seedlings by the root. Use a spoon for support if necessary. Don’t forget to water each plant based on its needs. Now your seedlings are ready for hardening off - the final and last step before they can be planted in a garden.
Want to learn more?
For more information, download our free guide "6 Reasons Our Garden Shed Is Right for You" which contains insider tips and great advice that both the amateur and expert gardeners will be able to use!