


by Dakota Storage Buildings, on October 31, 2025
Winter has a way of finding the gaps, and detached garages are one of the easiest places for cold air to sneak inside. Drafts sneak in through cracks, cold air pours through thin walls, and a poorly sealed garage door lets moisture and icy winds rush inside. This results in frozen tools, damaged storage boxes, and an uncomfortable space you’d rather avoid until spring.
Preparing your garage before the first freeze can save time, money, and headaches later. With the right strategy and storage ideas for garage, especially focusing on how to winterize a garage door, you’ll protect your belongings, keep the space comfortable, and even improve the efficiency of your home.
Protect Your Investment and Keep the Cold Out
We store valuable tools and seasonal equipment in detached garages, and sometimes even use them as a workshop or hobby area. Without proper winterization, it can become one of the most vulnerable areas in your home. Winterizing your detached garage is an essential step to protect what’s inside.
A little work up front can have big payoffs throughout the season:
- Protects vehicles, tools, and stored items from freezing temperatures. Cold air and condensation can damage paint finishes, drain car batteries, and cause tools to rust.
- Prevents drafts and heat loss. A poorly sealed garage makes it harder to use the space as a workshop or hobby area in winter, forcing you to rely on extra heating and driving up energy costs.
- Reduces condensation and moisture damage. Sealing up leaks and maintaining insulation helps prevent mold, mildew, and warped materials.
- Keeps workspaces functional. If your garage doubles as a workshop, gym, or hobby area, winterization ensures you can still use it comfortably year-round.
Stay Ahead of Snow and Ice This Winter
Snow and ice buildup around the threshold can block the door from sealing properly or even freeze it shut. Stay ahead of the problem by clearing snow before it has a chance to accumulate near the base of the door.
A small trench or slope away from the garage can help divert meltwater and prevent puddling. In icy conditions, consider tools like garage floor mats to capture snow and slush from vehicles, snow-melting products to keep entryways clear, or even heating cables to prevent ice dams and frozen thresholds.
Keeping the area around your garage door clear makes it easier to get in and out, protects the structure, and keeps water from creeping inside.
Your Step-by-Step Garage Winterization Checklist
The best way to winterize your garage is with a step-by-step approach. Think of it as a seasonal checklist that addresses air leaks, insulation, and smart storage, so you’re covered from top to bottom.
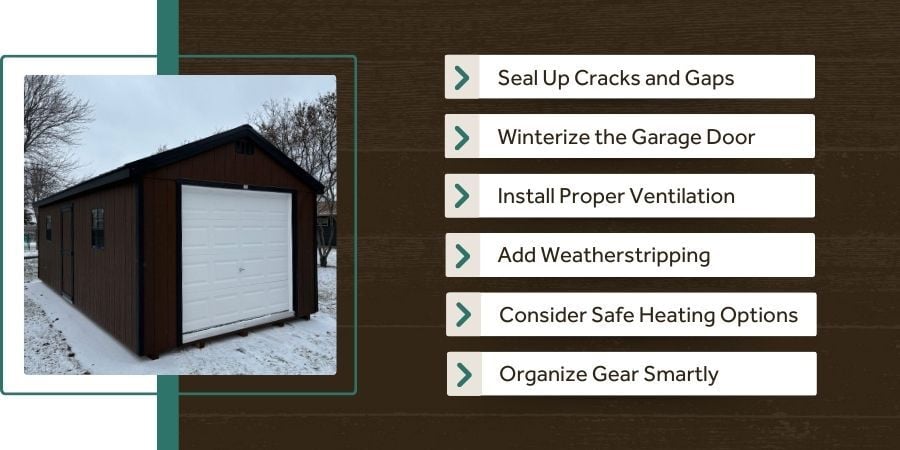
Step 1: Seal Up Cracks and Gaps Before the Cold Sets In
Cold air has a way of finding every tiny crack and gap. Walk around your garage and inspect windows, entry doors, walls, and the foundation for leaks. Caulk small crevices or use spray foam for larger gaps to stop drafts before they become a problem.
Step 2: Know How To Winterize a Garage Door for a Warmer, Safer Space
Knowing how to winterize a garage door is crucial. Your garage door is one of the largest openings in your home, and one of the easiest places for heat to escape.
To winterize your garage effectively:
- Add insulation panels or use a garage door insulation kit.
- Replace any cracked or worn weatherstripping along the bottom and sides.
- Check the seal at the base of the door to make sure no daylight (or cold air) seeps through.
- Ensure the door closes flush and operates smoothly.
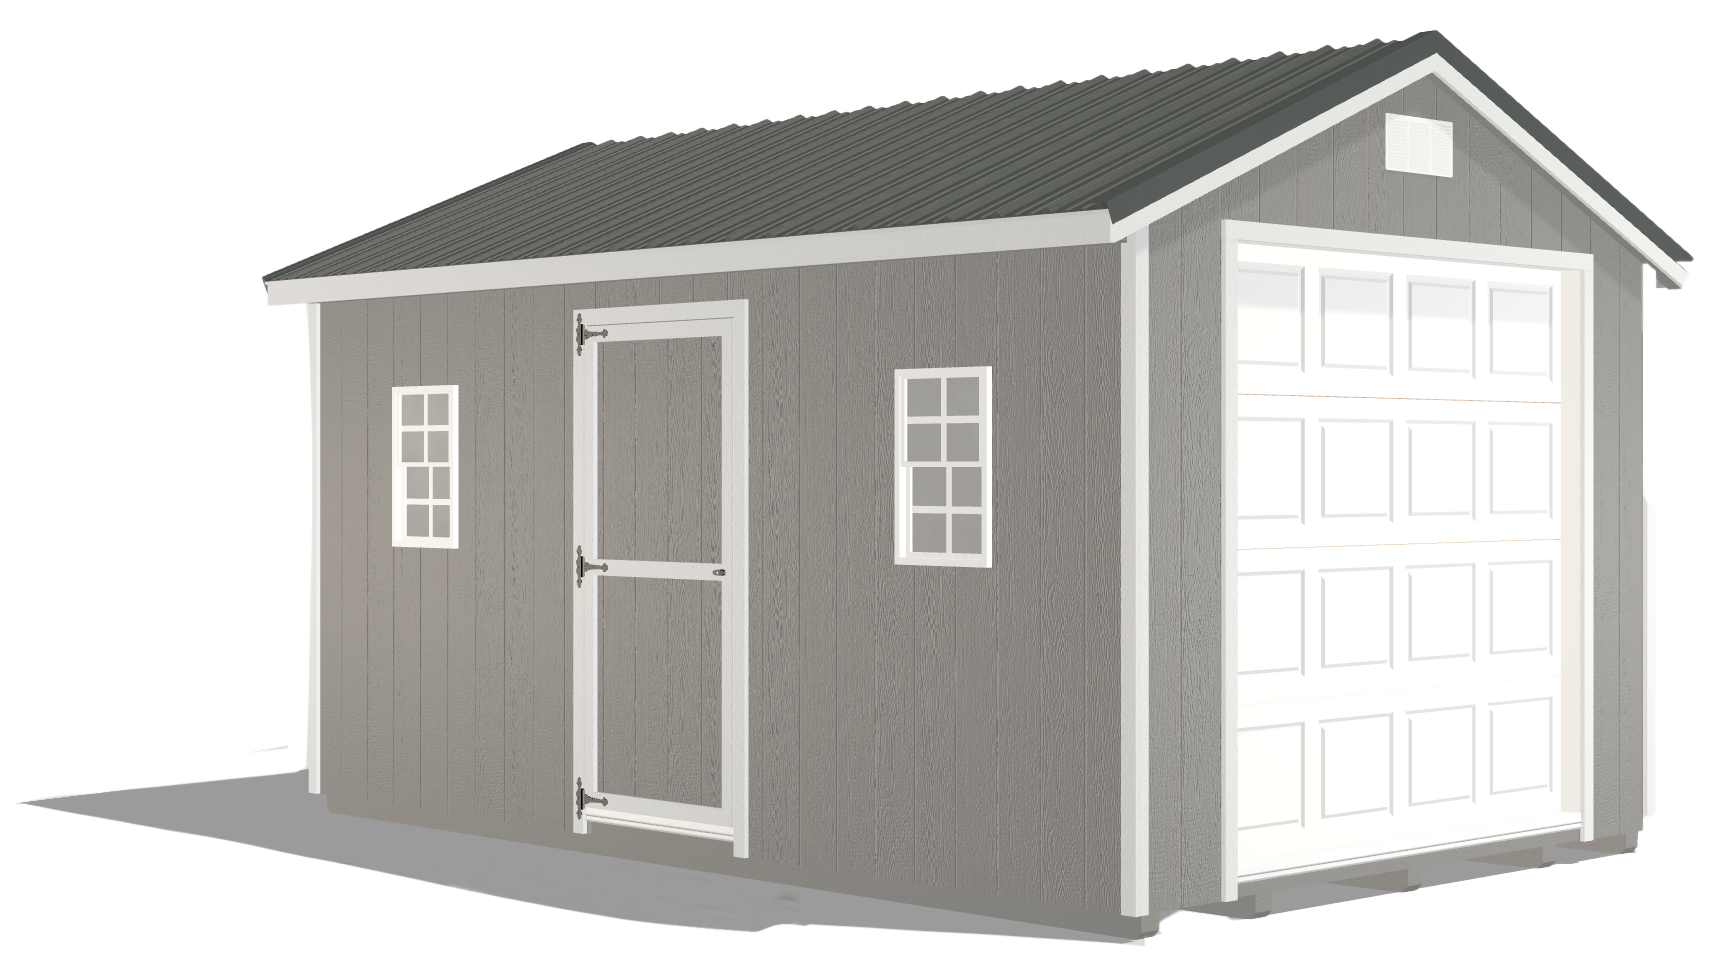
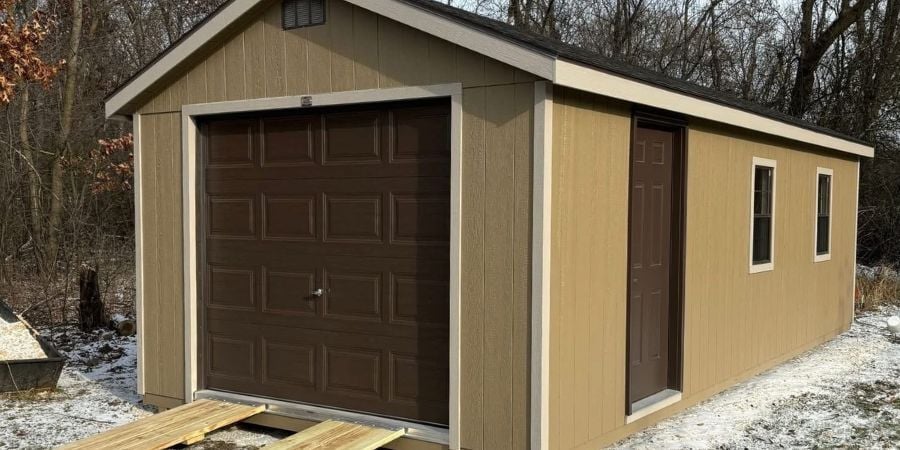
At Dakota, our detached garages come equipped with the Clopay Premium Series overhead garage door, designed with built-in insulation and energy efficiency in mind. These doors help maintain indoor temperatures and reduce heat loss, giving your garage a head start against winter.
Step 3: Boost Comfort With Proper Insulation
A garage without wall, ceiling, or garage door insulation will never hold warmth effectively. Assess your current setup and add insulation where needed. Foam board works well for unfinished walls, fiberglass batts fit between studs, and spray foam offers an airtight seal for maximum efficiency. Even a modest upgrade can drastically improve comfort.
Step 4: Add Weatherstripping to Lock in Heat and Keep Moisture Out
Weatherstripping may seem minor, but it’s one of the most effective tools for keeping heat inside. Check the edges of your garage door, side entry doors, and any windows. Fresh weatherstripping prevents cold drafts and helps block moisture from sneaking in during wet or snowy days.
Step 5: Consider Safe Heating Options for Your Garage
If you use your garage as a workshop or gym, adding a heating solution may be worth the investment. Portable electric heaters or wall-mounted units are the safest and most efficient choices for enclosed spaces. Just make sure your garage is well-insulated first; otherwise, you’ll end up heating the outdoors.
Step 6: Organize Smartly to Keep Gear Protected All Winter
Even the most insulated garage floors get cold, which can transfer moisture into tools, boxes, and equipment. With the right storage ideas for garages, you can ensure your items are protected during the winter. Keep items elevated on shelves, hooks, or wall-mounted systems to prevent damage.

When you choose a detached garage from Dakota, you’re also investing in long-lasting protection. Our garages are built with LP® SmartSide® Siding and Long Creek Steel’s Tuff Rib Siding, both of which provide superior weather resistance. Combined with a solid winterization plan, these features ensure your structure can handle the harshest conditions while keeping your belongings safe.
Winterize Today for Comfort All Season Long
Winter doesn’t have to turn your detached garage into a drafty, uncomfortable space. By sealing cracks, insulating walls, and learning how to winterize a garage door, you’ll protect your vehicles, tools, and storage while creating a more functional environment.
Even small steps, like replacing weatherstripping or adding insulation, can make a noticeable difference. A checklist approach ensures nothing gets overlooked and gives you peace of mind that your garage is ready for whatever the season brings.
Now is the perfect time to prepare. Explore our detached garage options, and use our 3D Configurator to design a customized garage built to withstand winter while meeting your everyday needs. With the right planning, your garage can be warmer, safer, and more efficient all year long.